Capture the lead (manage it, follow it up, and so on up to the quote/cost estimate phase)
Send the quote or cost estimate
Follow up the customer (call him, take note of any comments, gather team to discuss negotiation, and so on.)
Get the order
Purchasing Routine:
Estimate the replenishment needs
Place the purchase order to the supplier/vendor (PO)
On reception of the goods:
Receive the goods from the vendor (validate against the PO)
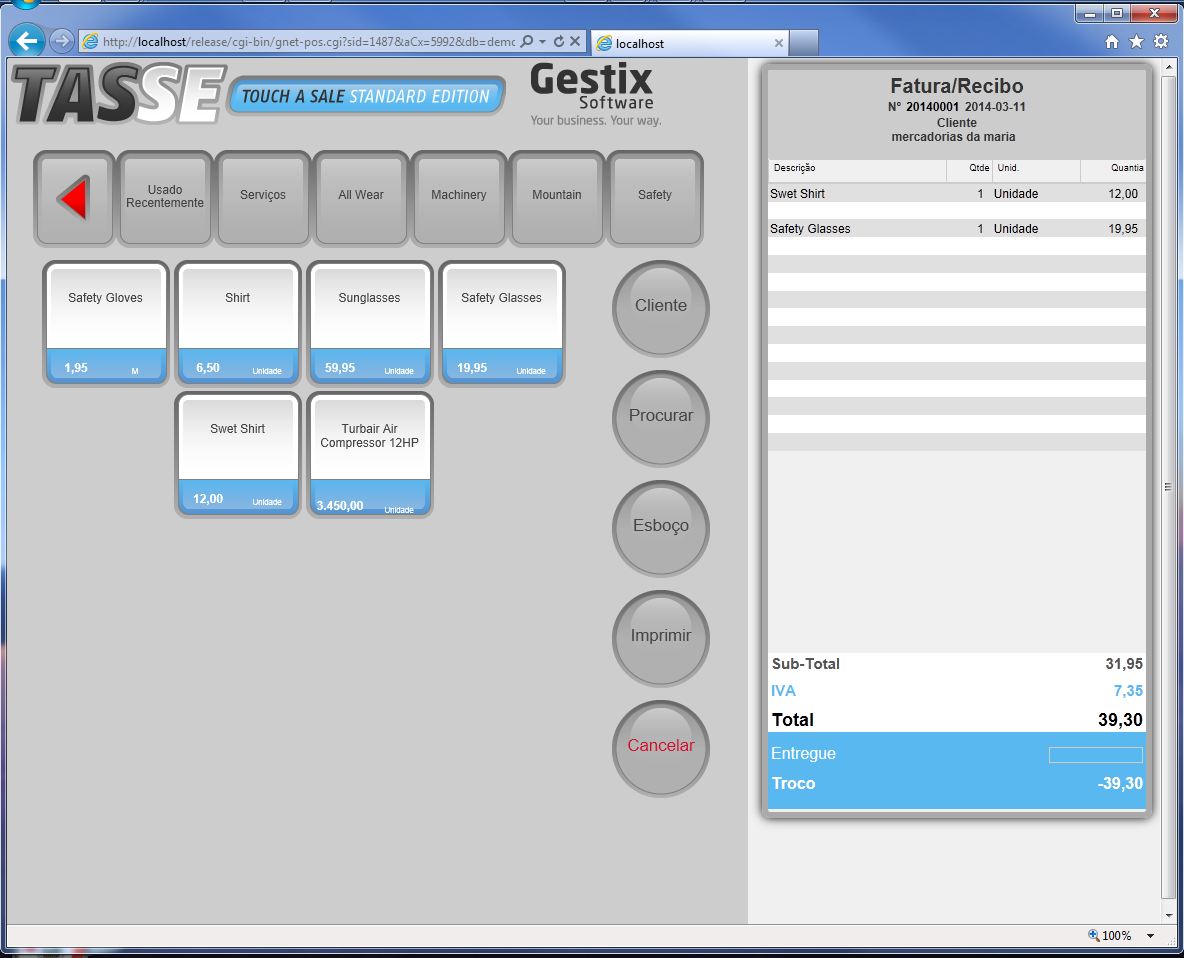
Deliver to customers
On collection from customers
On payment to suppliers, commissioners, payroll
Conclusion. The preliminary study of the activities of the company is focused in identifying critical factors and providing training guidelines for an efficient coverage of the various activities of the business.
This example shows how to import data as Attributes assigned to each Article record. Attributes are user-defined fields that extend the ones included in the article record, and can be used in data-analysis and reporting.
Using Attributes to classify items
Problem:
Transfer 600 thousand items into Gestix, with part-no, description, and condition, among other data that will be discarded.
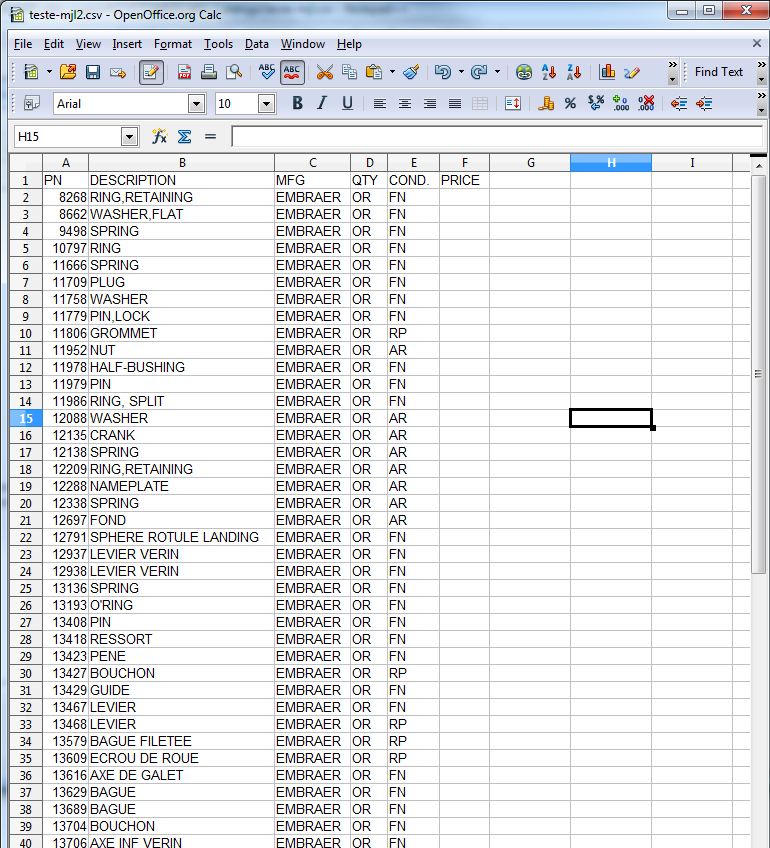
The original file looks like this:
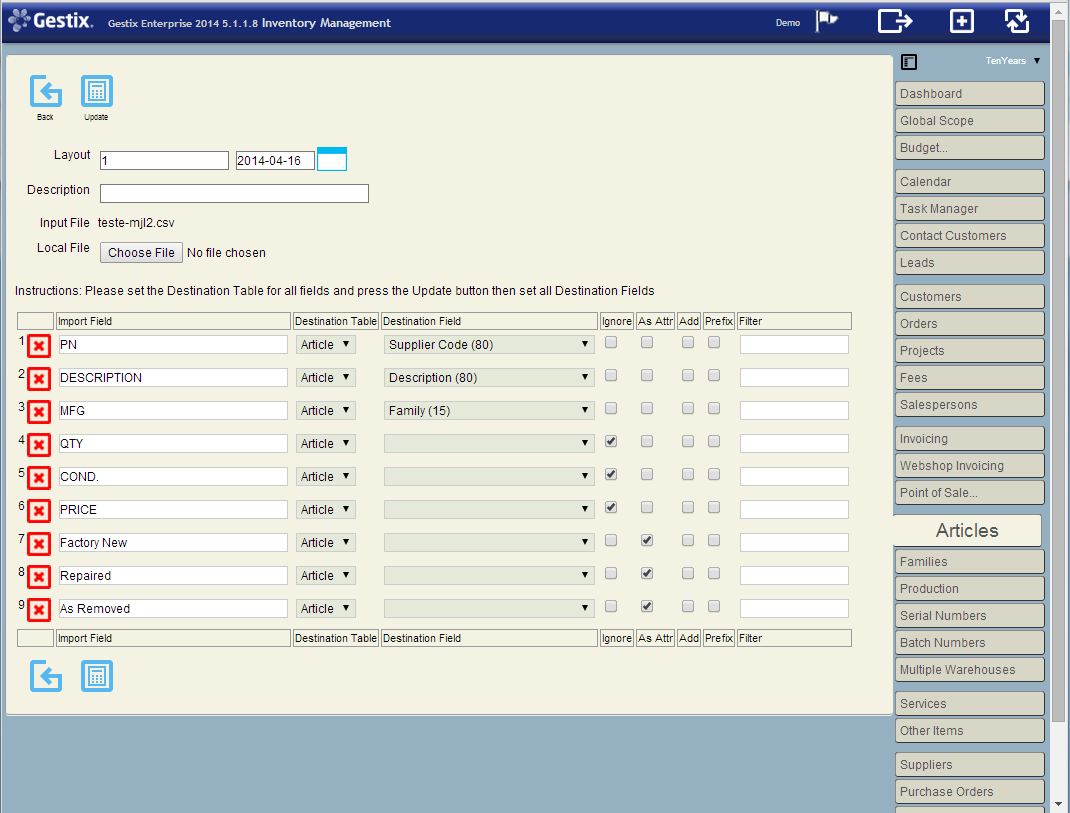
The PN field is to be stored as the Supplier’s Item Code. The value of the DESCRIPTION column goes to the field with the same name in the Gestix’s Article record, and the value of the MFG field goes to the Family field in Gestix.
The field COND, representing the condition of the part (Factory New, Repaired, etc), is to be stored as an Attribute of the item. The possible values in this case will be:
FN – Factory New
RP – Repaired
AR – As Removed
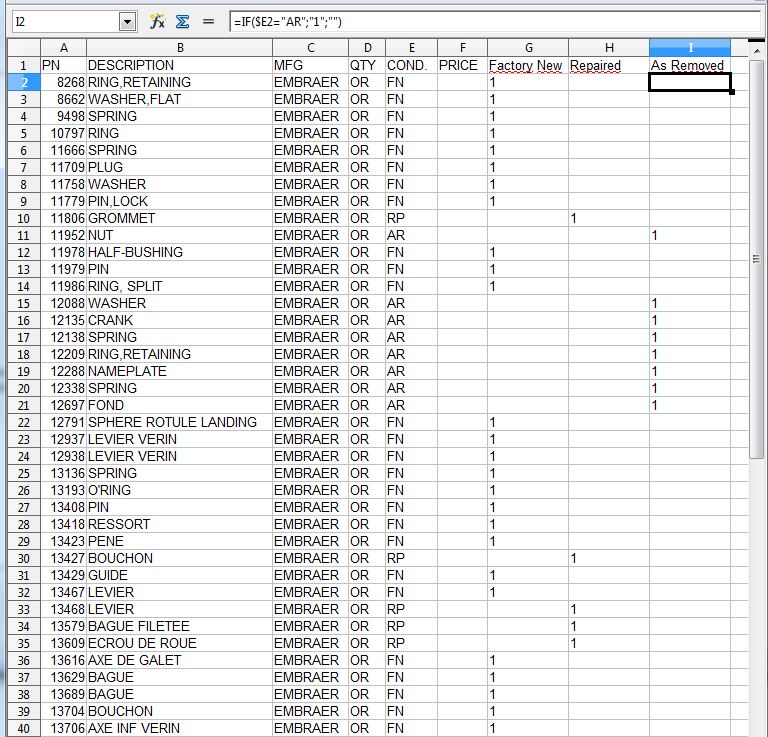
In order to assign attributes to articles using the Data Import menu of Gestix, the data has to be rearranged so each attributes comes in its own column in the worksheet. The column name will become the attribute name, and the column value for each item will be 1 if the attribute is to be assigned to the item, 0 or blank otherwise. We use the worksheet formulas to aid in this task, and the resulting, modified file looks like this:
Data rearranged
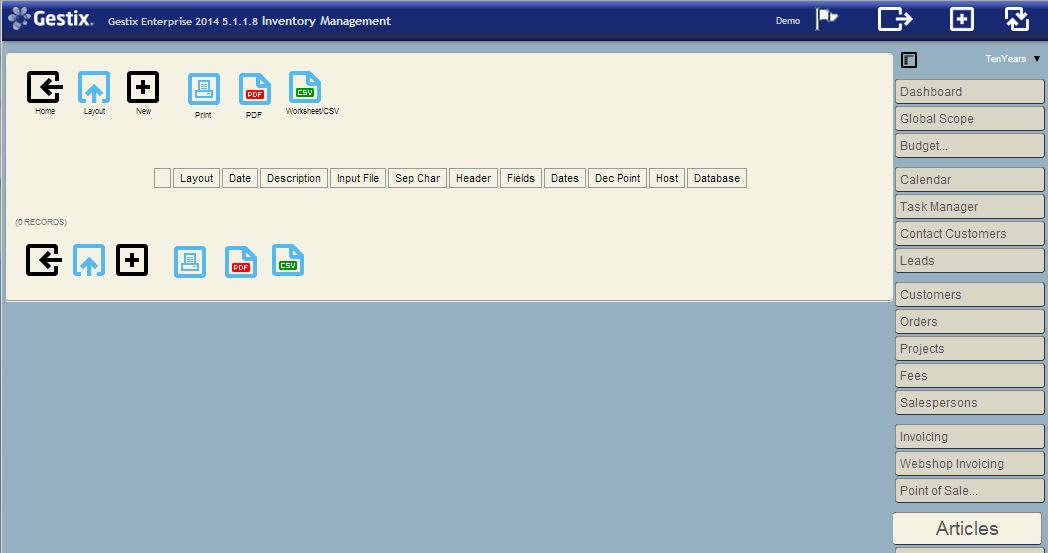
Then, after saving this file as CSV again, open it from the Gestix, Articles, Data Import menu. Add a new layout for this CSV file (tap the plus sign +).
The Data Import menu in Articles
Then, save it and open it by clicking the row or the small arrow in it.
Finally, set the destination table and fields for each import field (each import field corresponds to a column in the input worksheet). Press the update button between steps, whenever necessary.
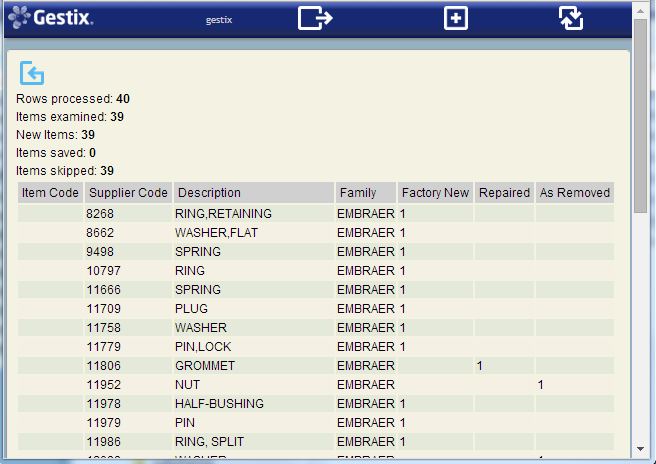
Then press the Test button to preview the results.
Preview the results pressing the Test button
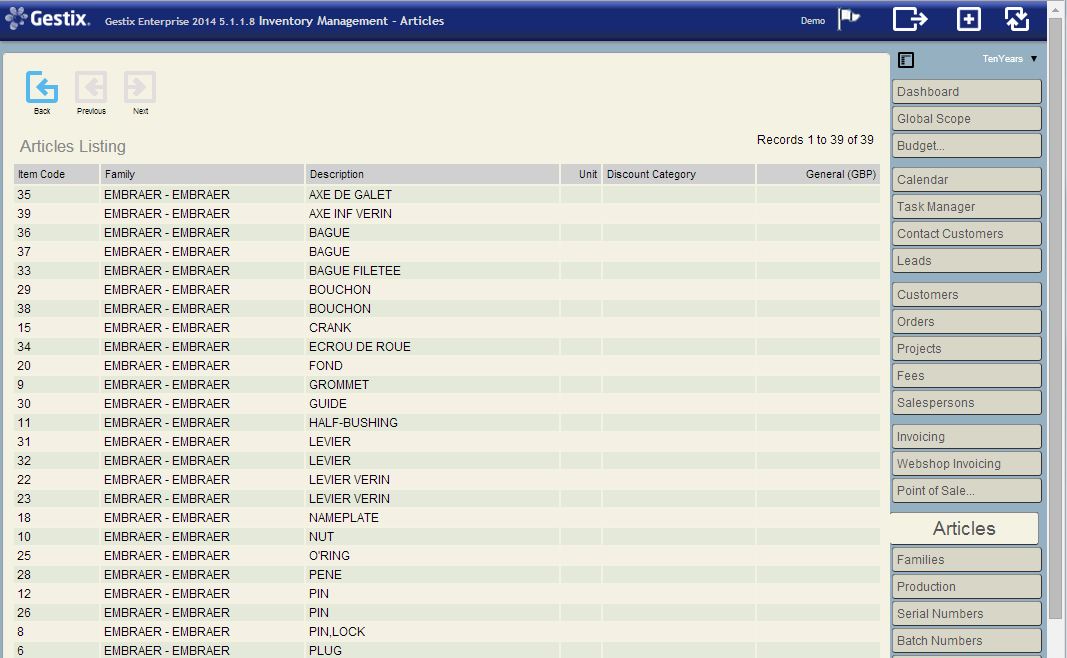
If the data displayed look correct, go back and press the Import button. Then check the results. Here we listed the new family EMBRAER, and checked it was alright.
Listing the Embraer family of items just transferred from the CSV file
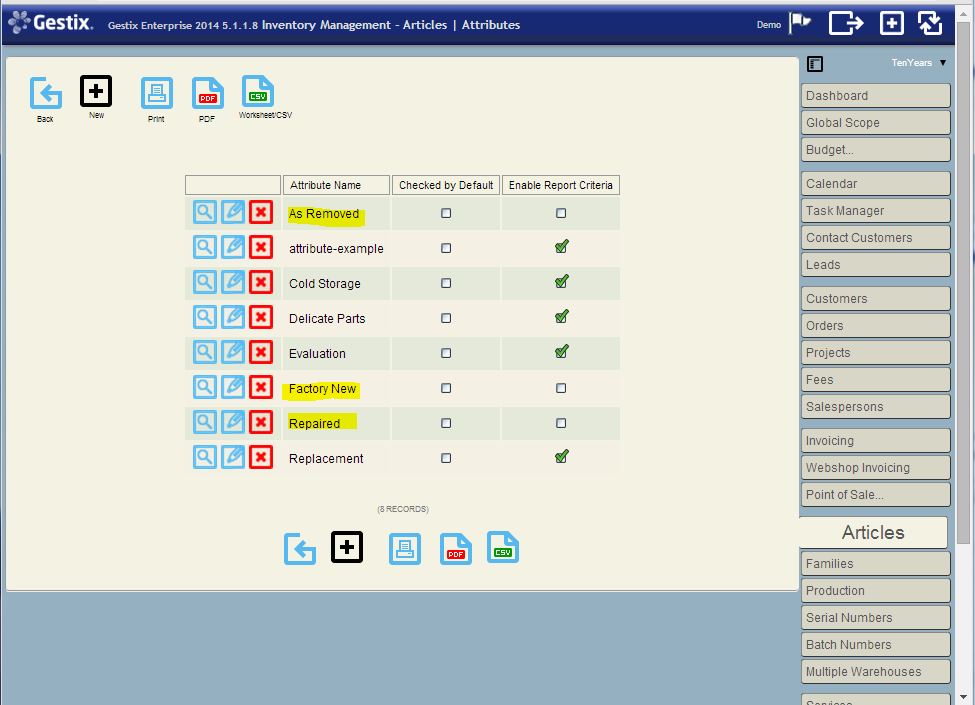
The Attributes menu display the new attributes just created during the data import process.
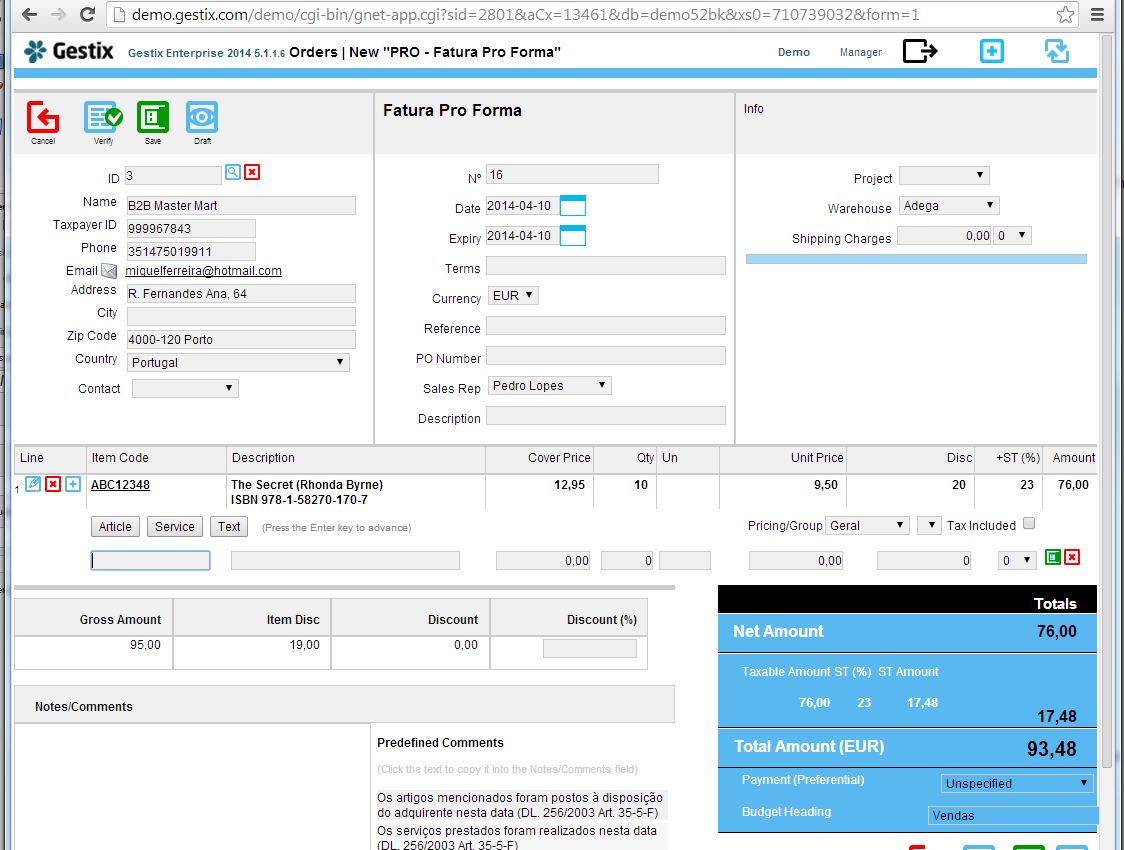
The purpose of this article is to show how to configure Gestix in order to process quotes, orders, and subsequent invoices optimized for book publishers and bookstores.
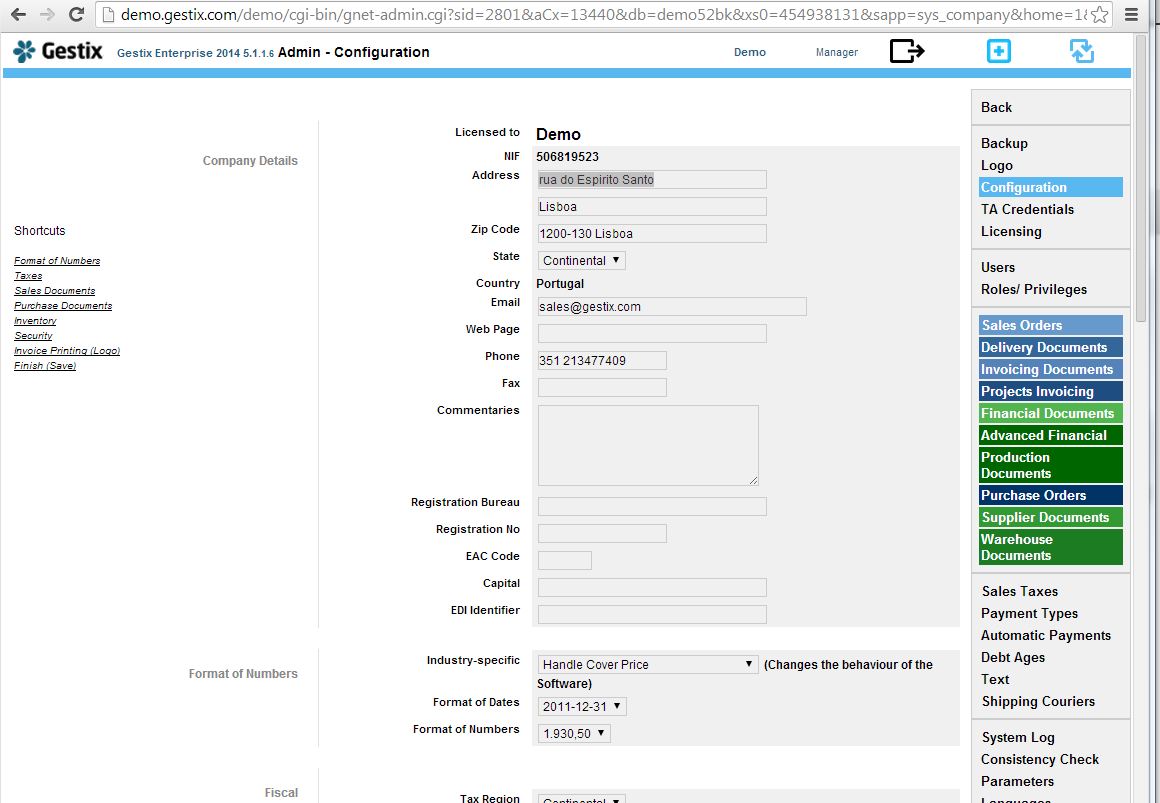
First, ensure the Admin | Configuration menu has the “Handle Cover Price” option selected.
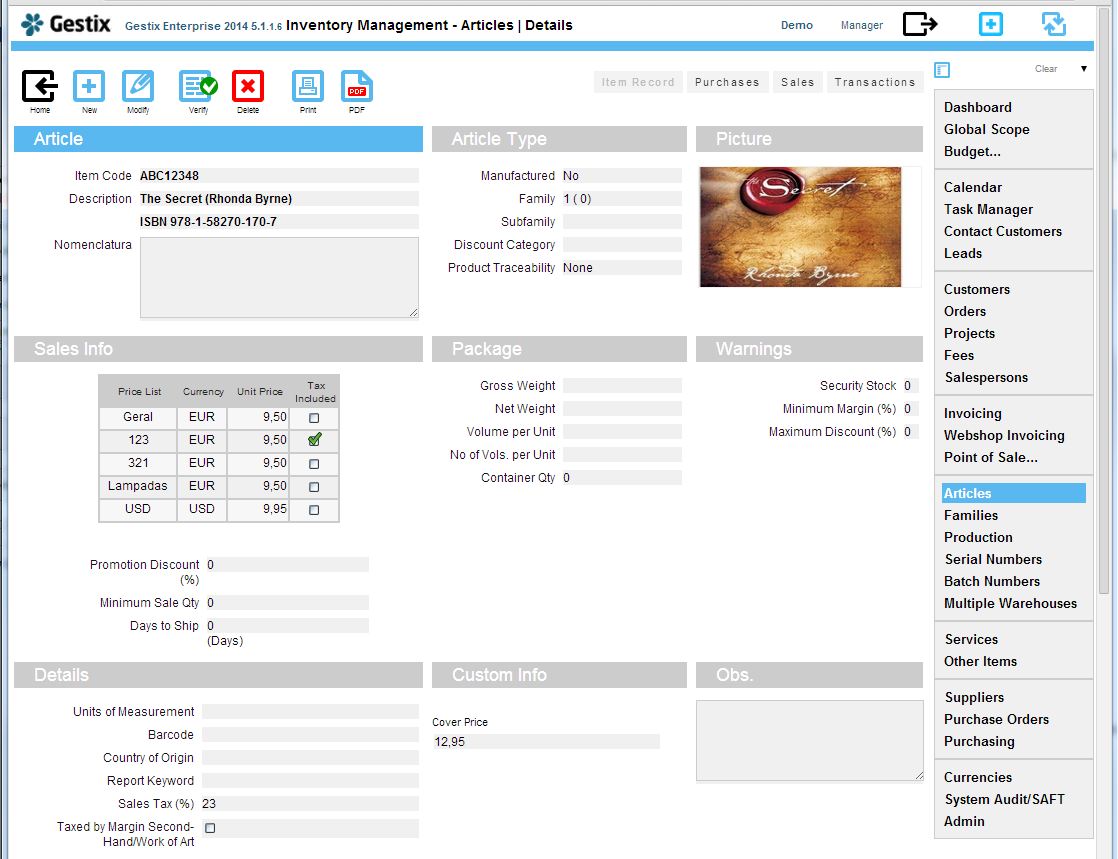
Check the article record Cover Price.
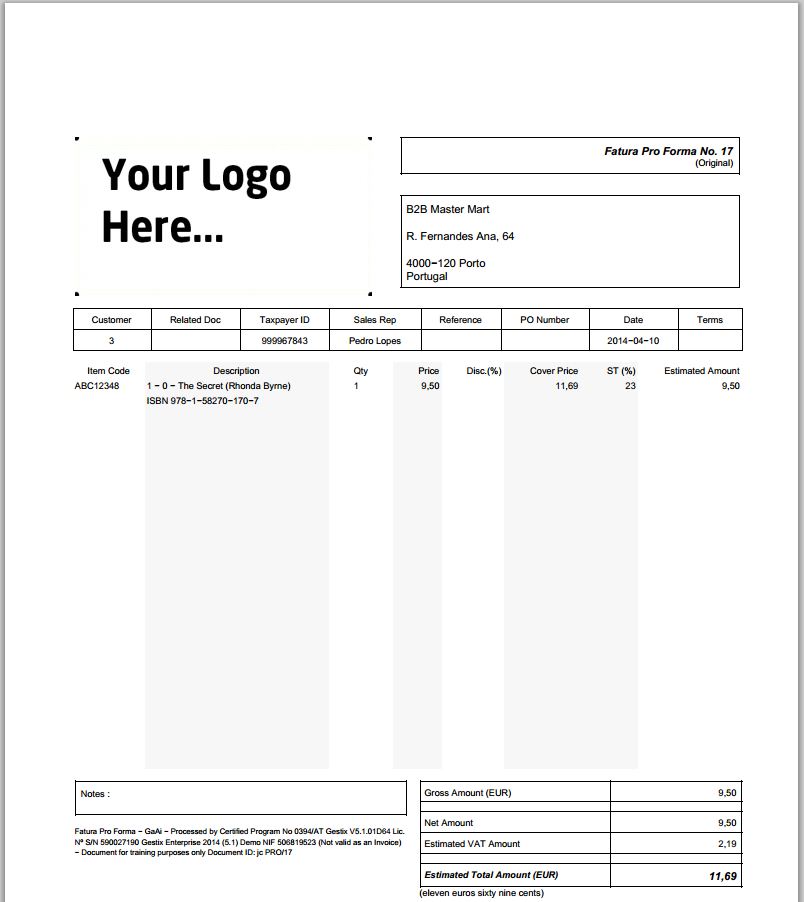
Make a pro-forma invoice
The whole process handles the cover price independently of the transaction price.
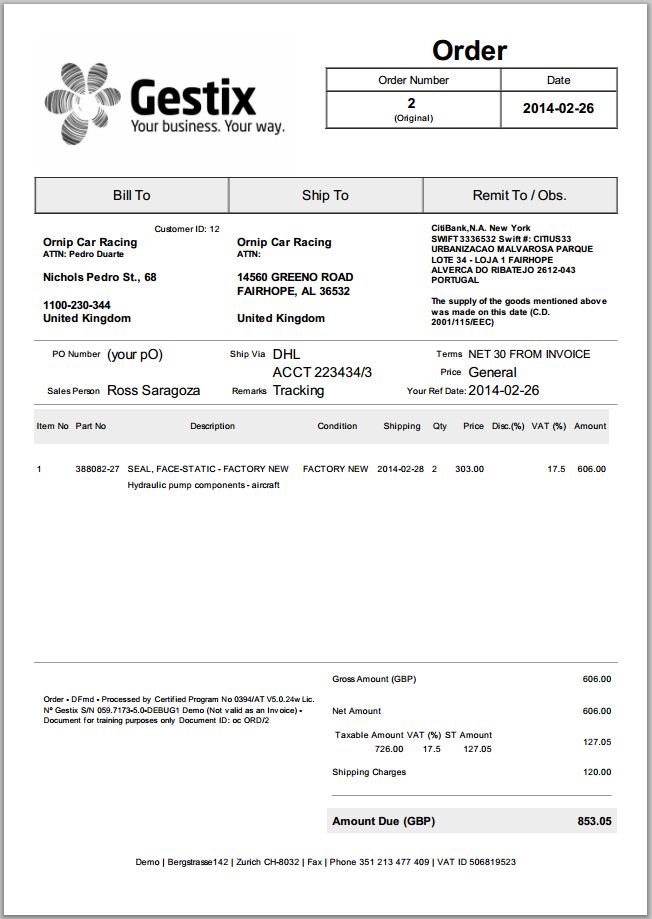
The purpose of this article is to show how to configure Gestix in order to process quotes, orders, and subsequent invoices optimized for global trading.
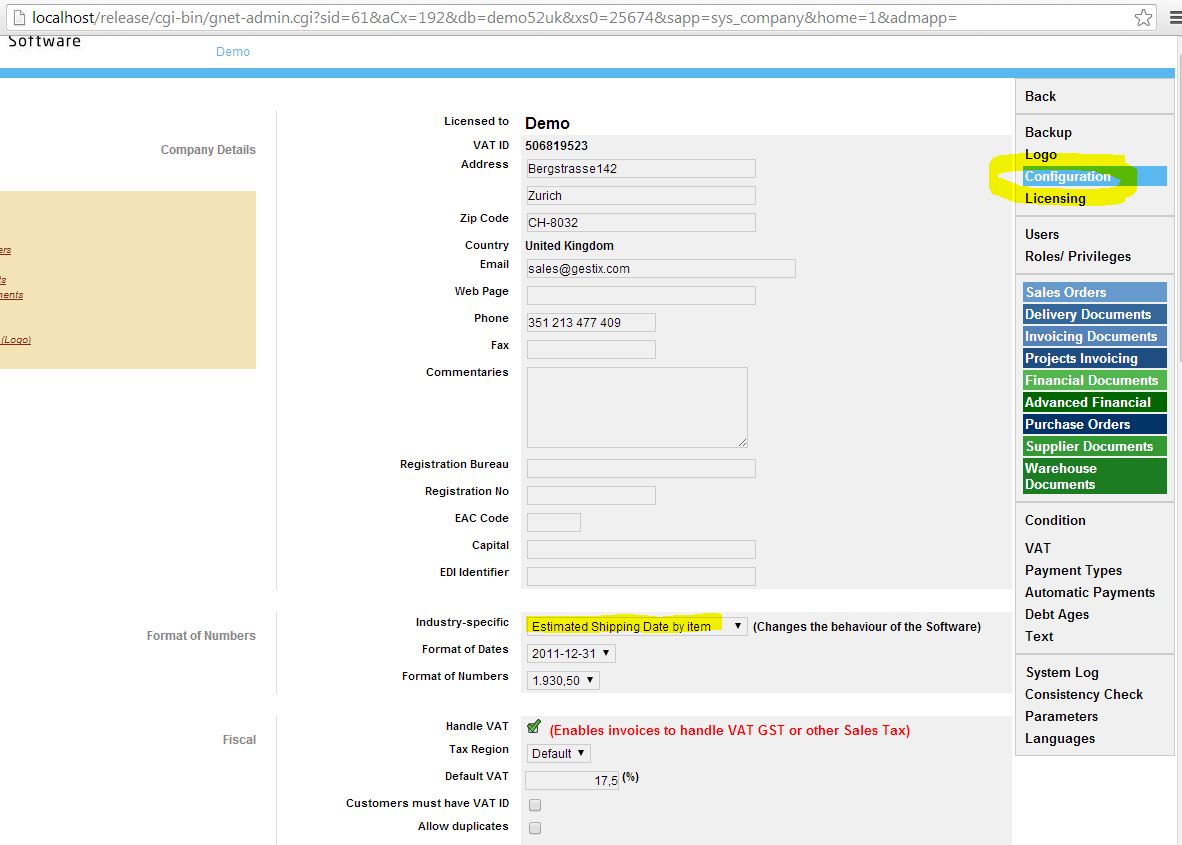
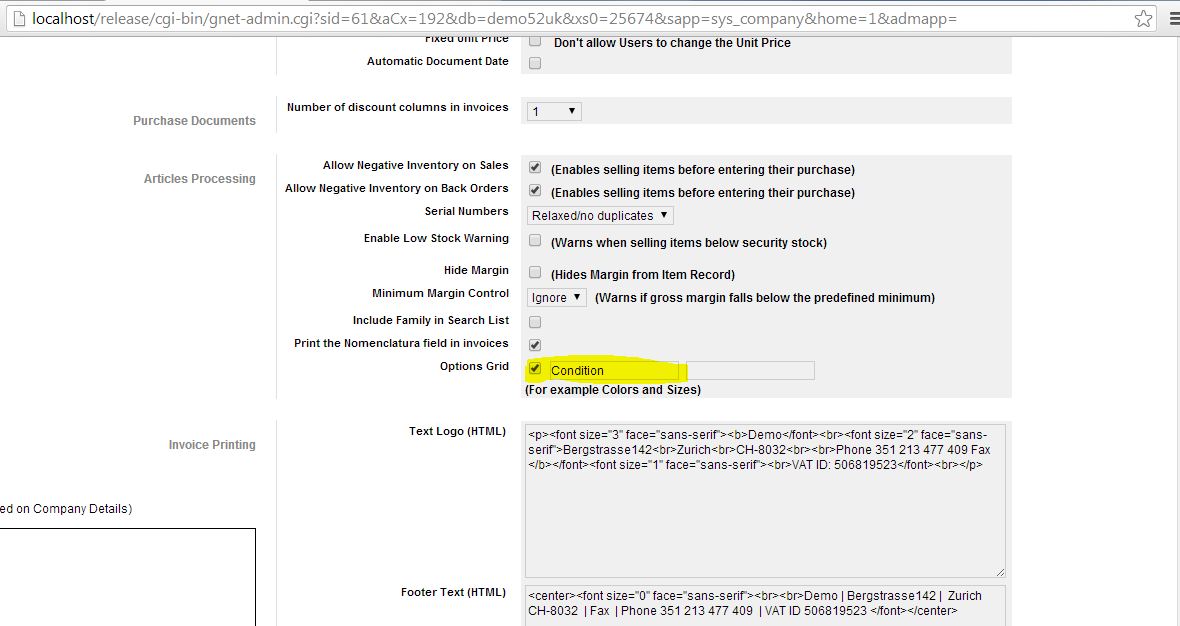
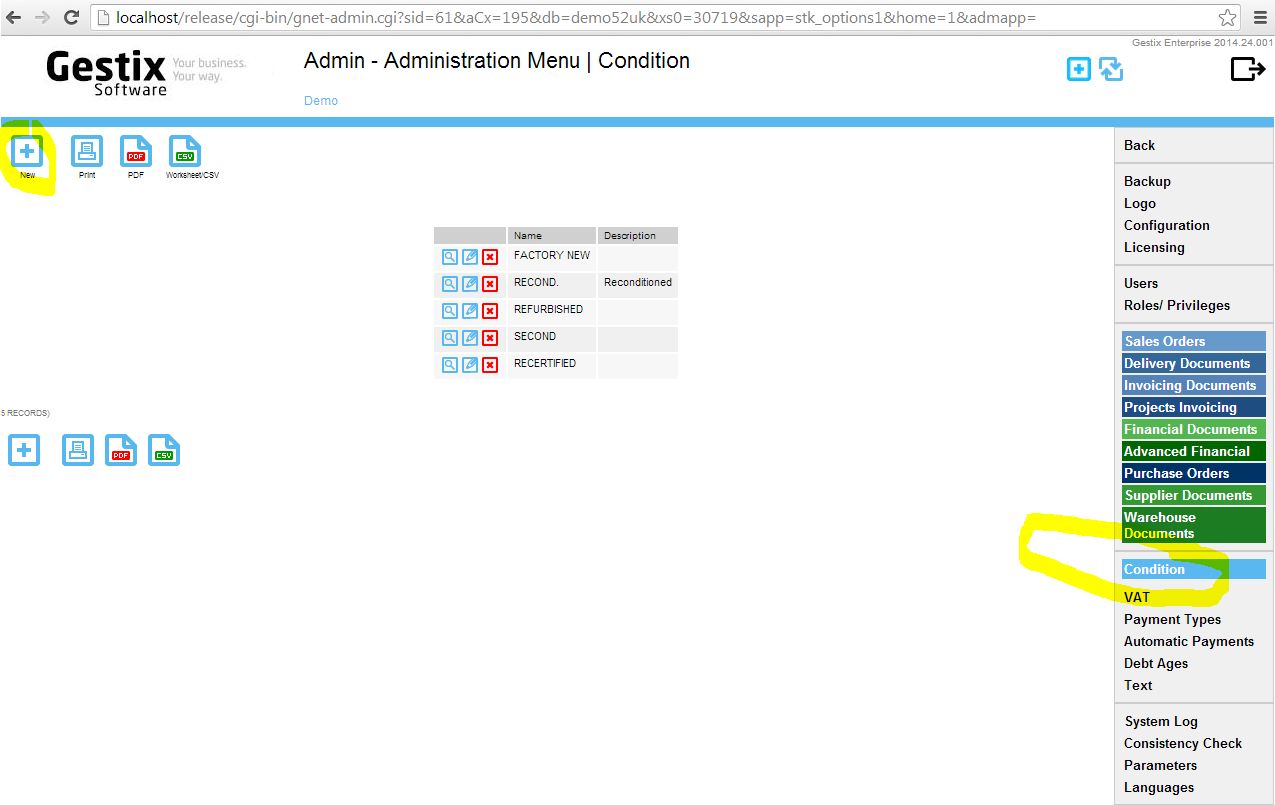
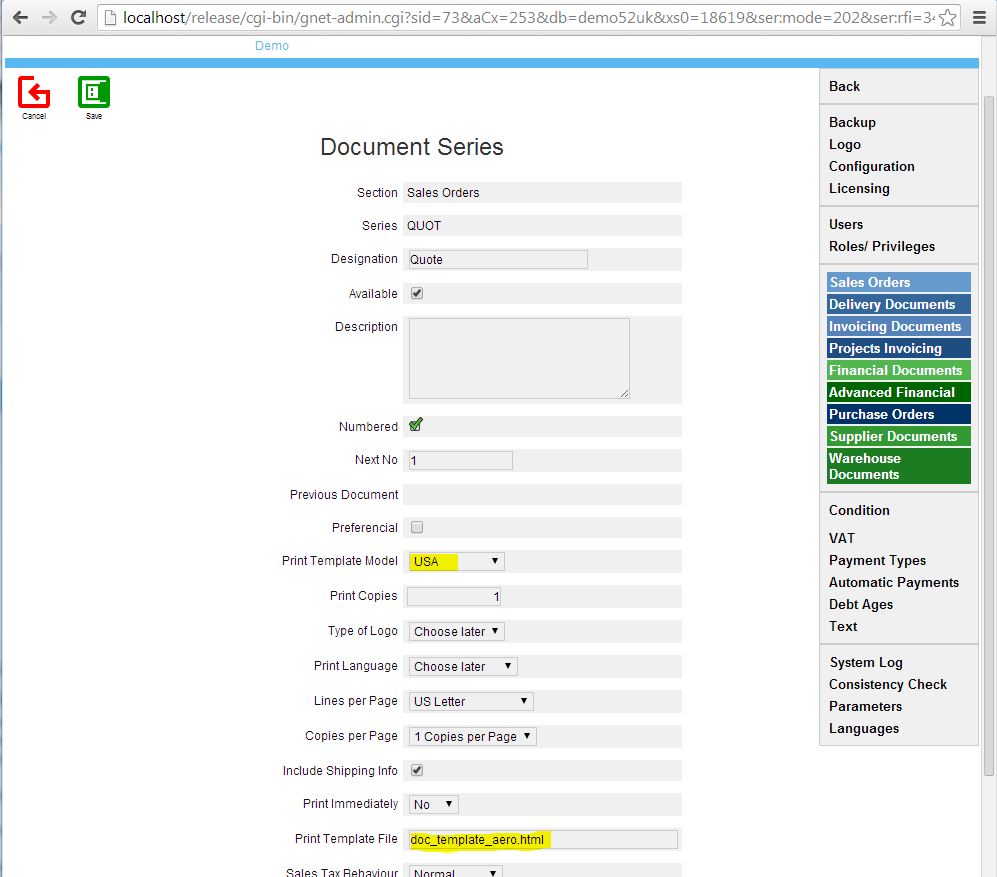
This is a personalized version of Gestix’s “US” invoice layout that uses the Industry-specific option “Ship date by item” to enable entering the ship date for each item, and the “Article Options Set 1” as the table of “Parts Condition Codes”. All these parameters are found in the Admin menu.
Choosing the Industry-specific option “Ship date by item”.
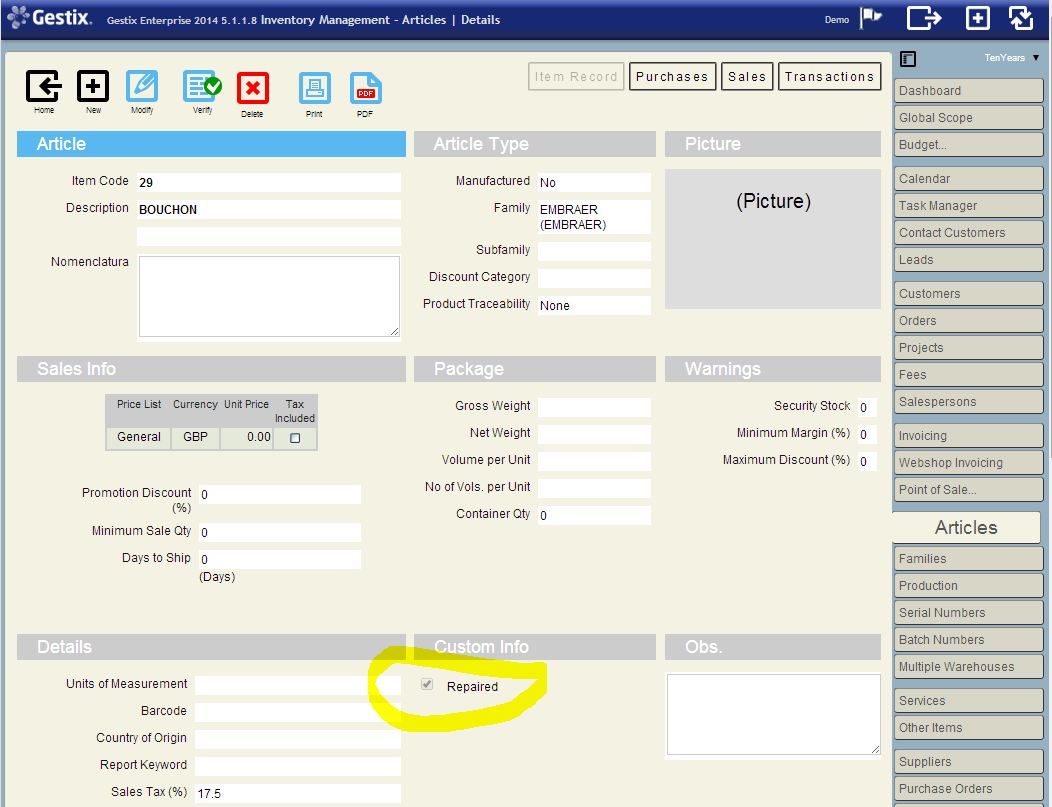
Activating Article’s Options Grid. Fill the first data field with “Conditions” and leave the other field empty)
Entering Part Conditions Codes:
Configuring the order and similar documents to use the personalized version of the invoice layout (doc_template_aero.html)
After likewise checking all other involved document series, as needed, the configuration is complete.
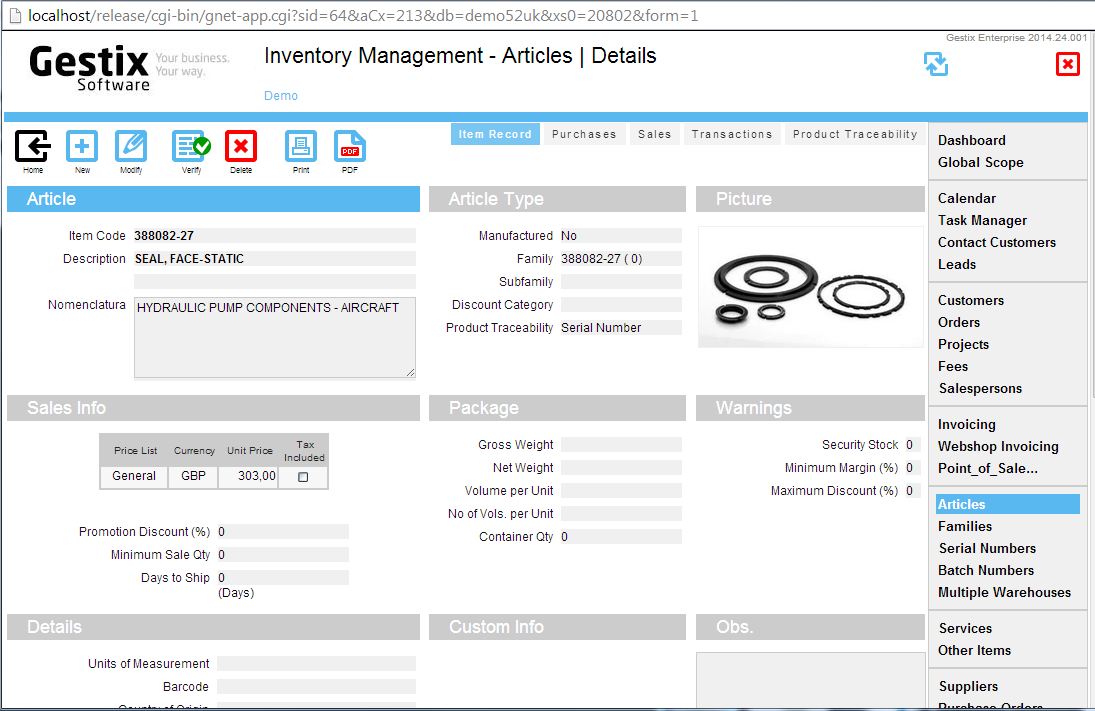
Now, the every-day kind of tasks. Before entering the order into the system, lets checking the item file:
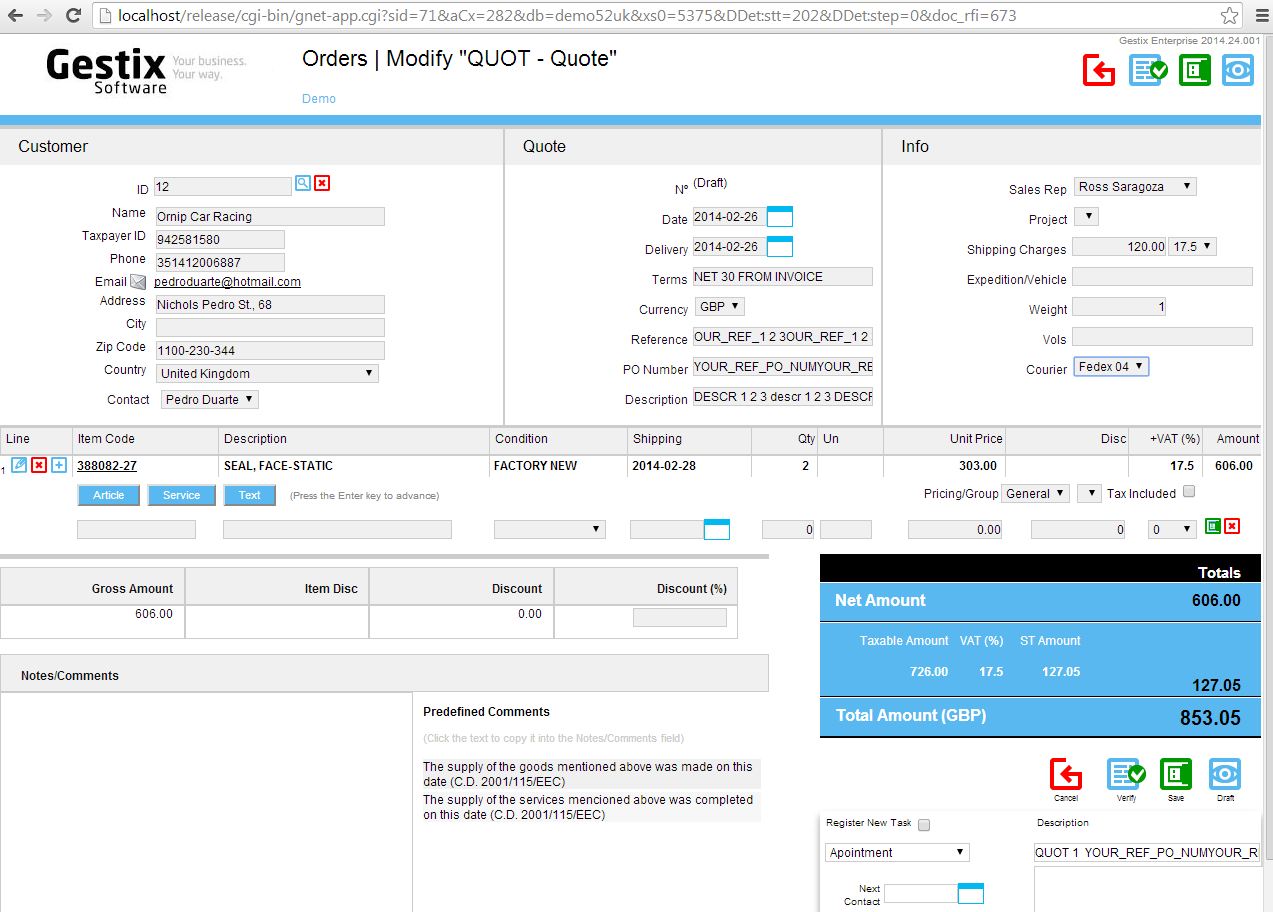
And go on to entering the quote:
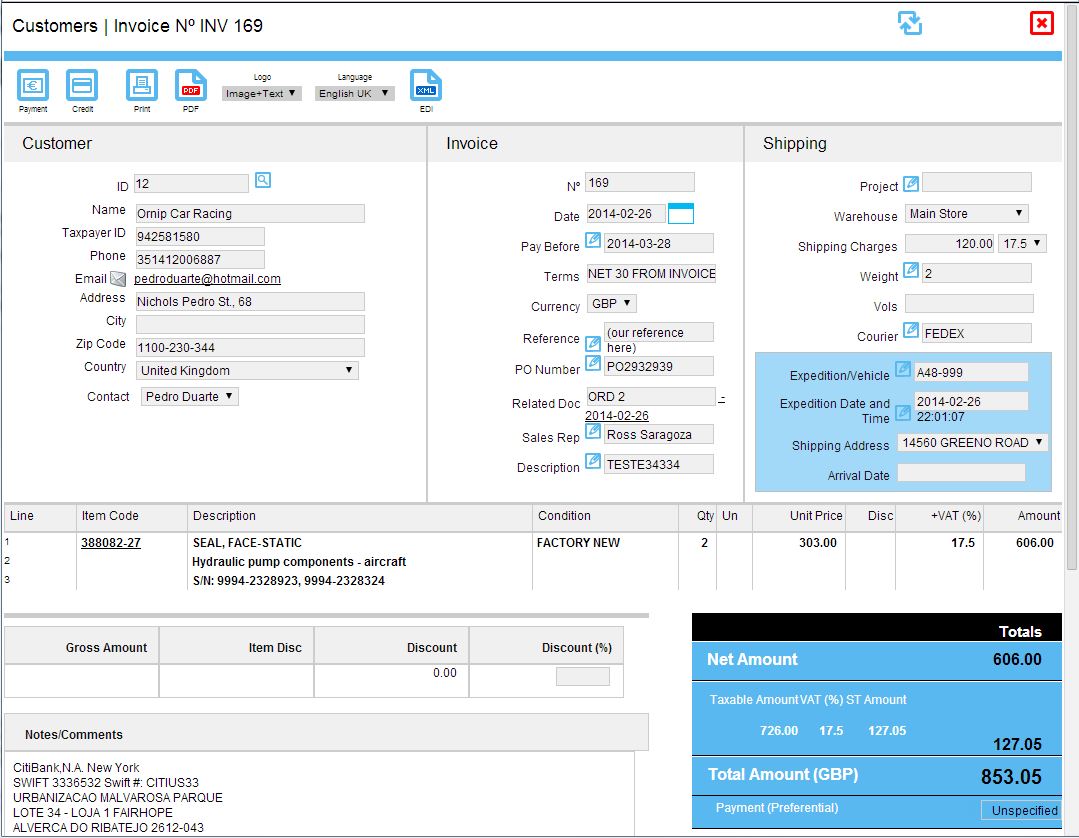
Then, the order and finally the invoice.
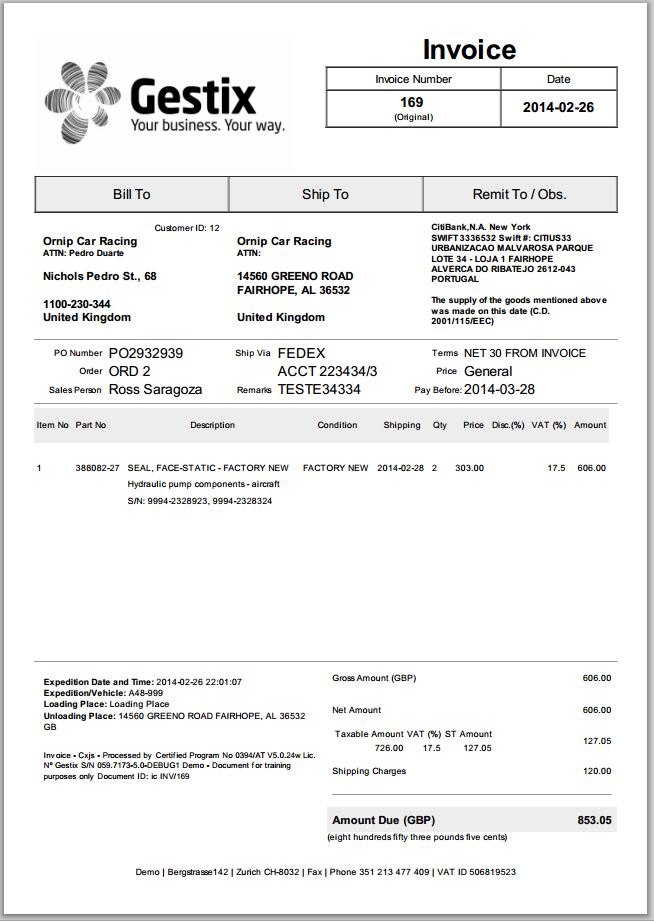
Send the PDF directly by email if you wish,
Invoice layout “Aviation Parts”
For more information call us at tel. (00 351) 213 477 410 or mail us through sales@gestix.com. Thank you.
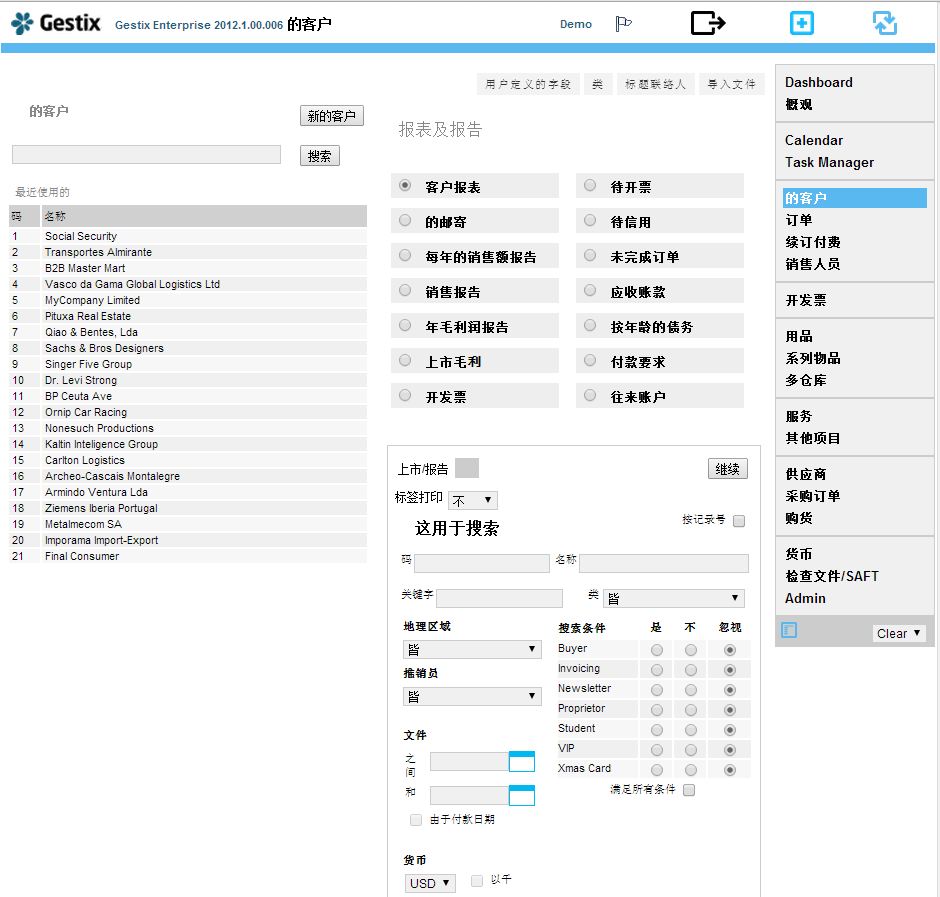
When installing Gestix in your computer, choose your language when asked. Then, when entering the address of your company, Gestix will automatically adapt the invoices to the local language while keeping the user interface in your own language.
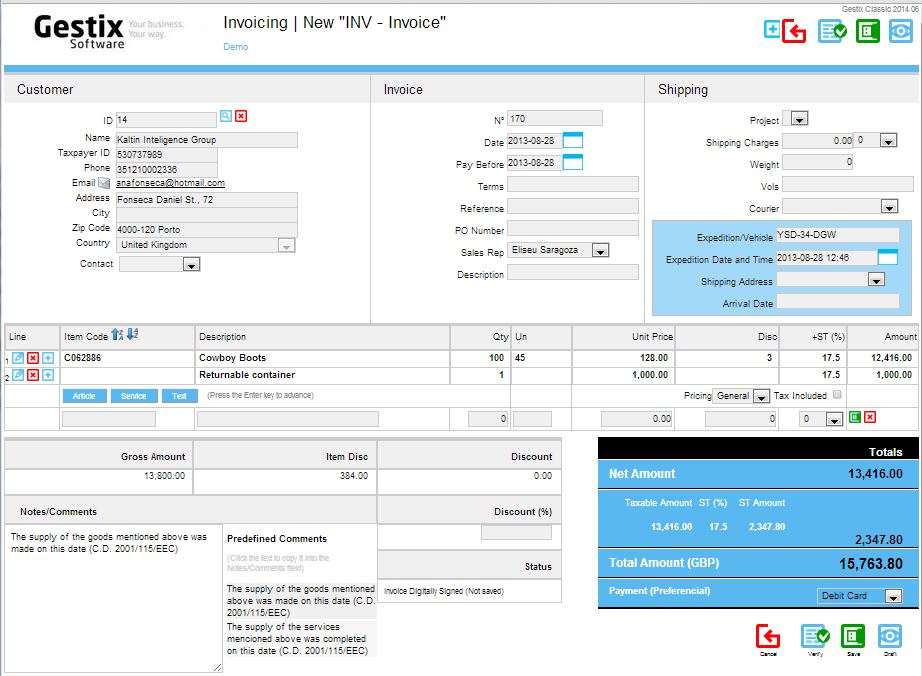
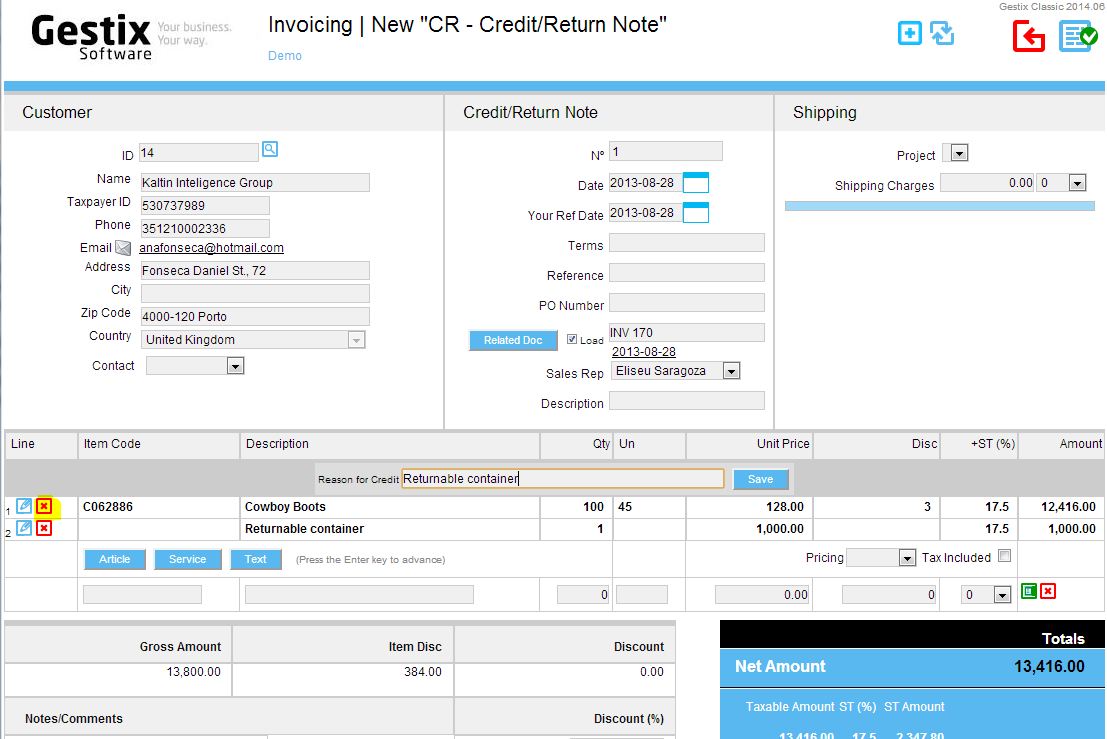
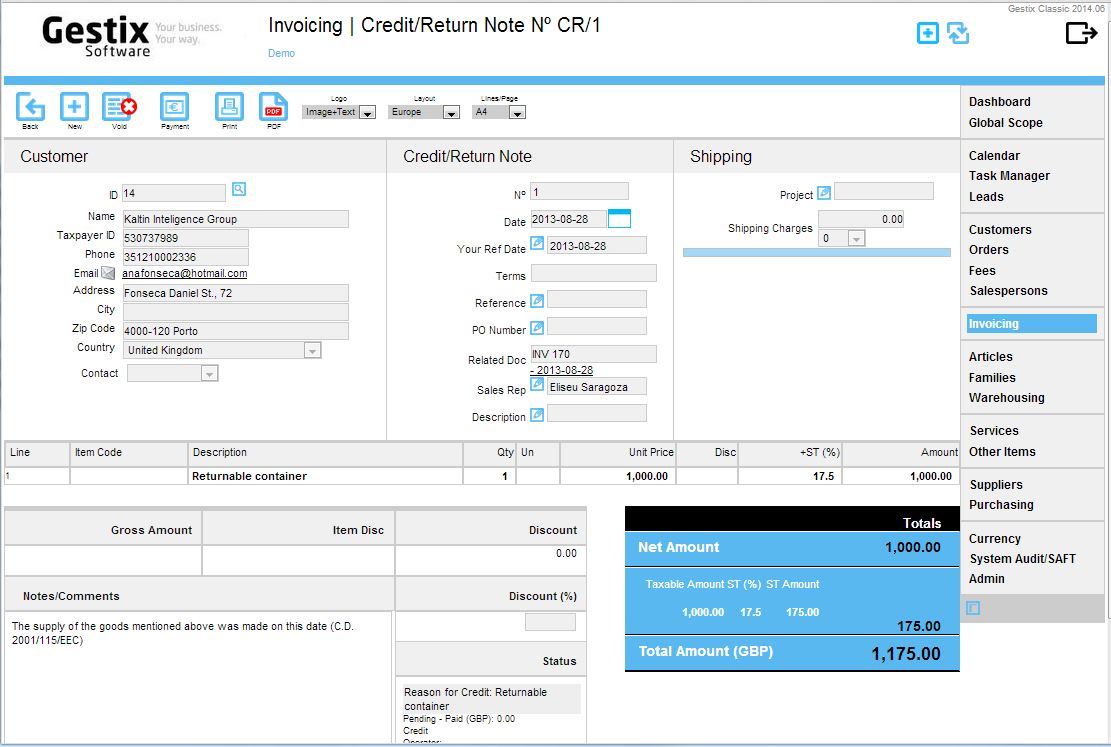
In some countries it’s obligatory to include the returnable container/packaging in the invoice, and then issue a credit memo for the return of those returnable items.
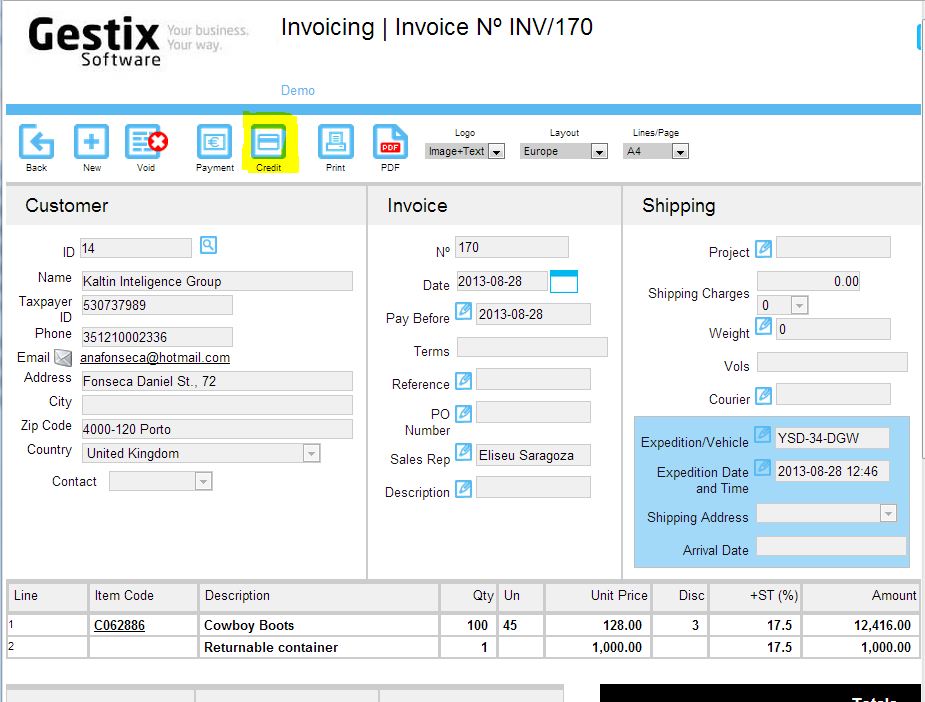
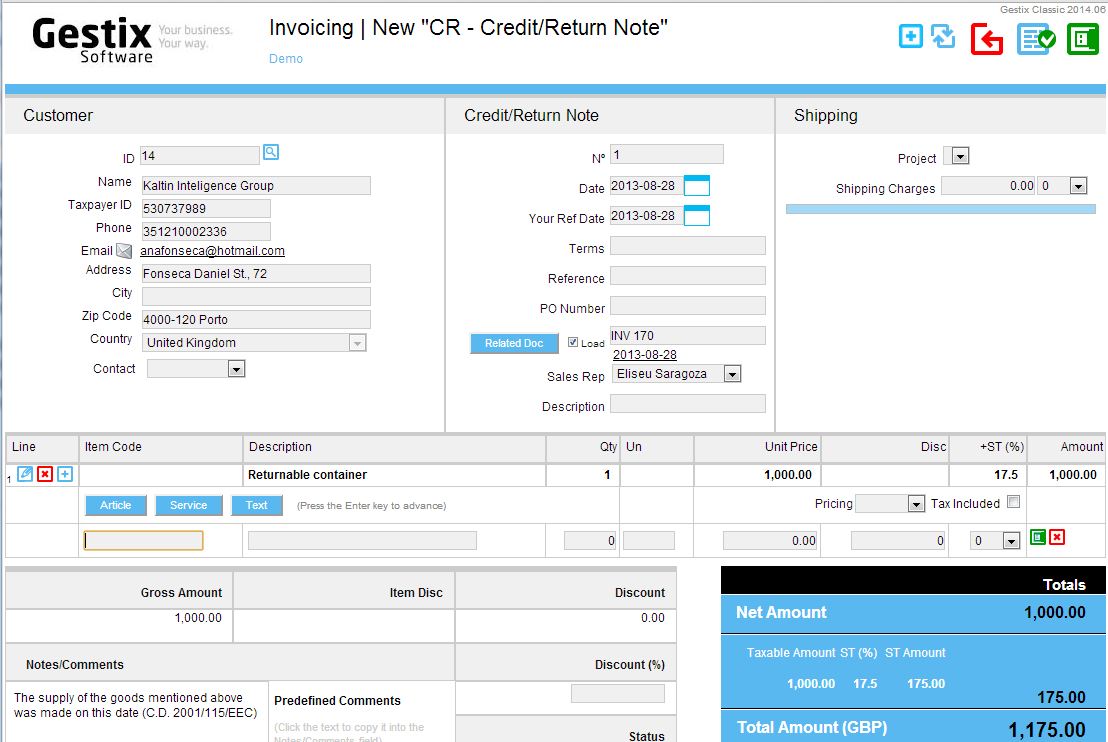
Click the Credit button to issue the Credit/Return Memo for that particular invoice. Then remove all lines except those that have the returned items.
Check again before saving the final document…
The Credit/Return Note is now ready to be printed or emailed.